Custom Ludo Board With Photo in Center: Is It Possible?
Short answer: yes, absolutely. Long answer: there are three ways to do it, they range from "five minutes with a sticker" to "proper custom print," and the right choice depends on whether this board is for daily play or for making someone cry happy tears. (Both are valid goals.)
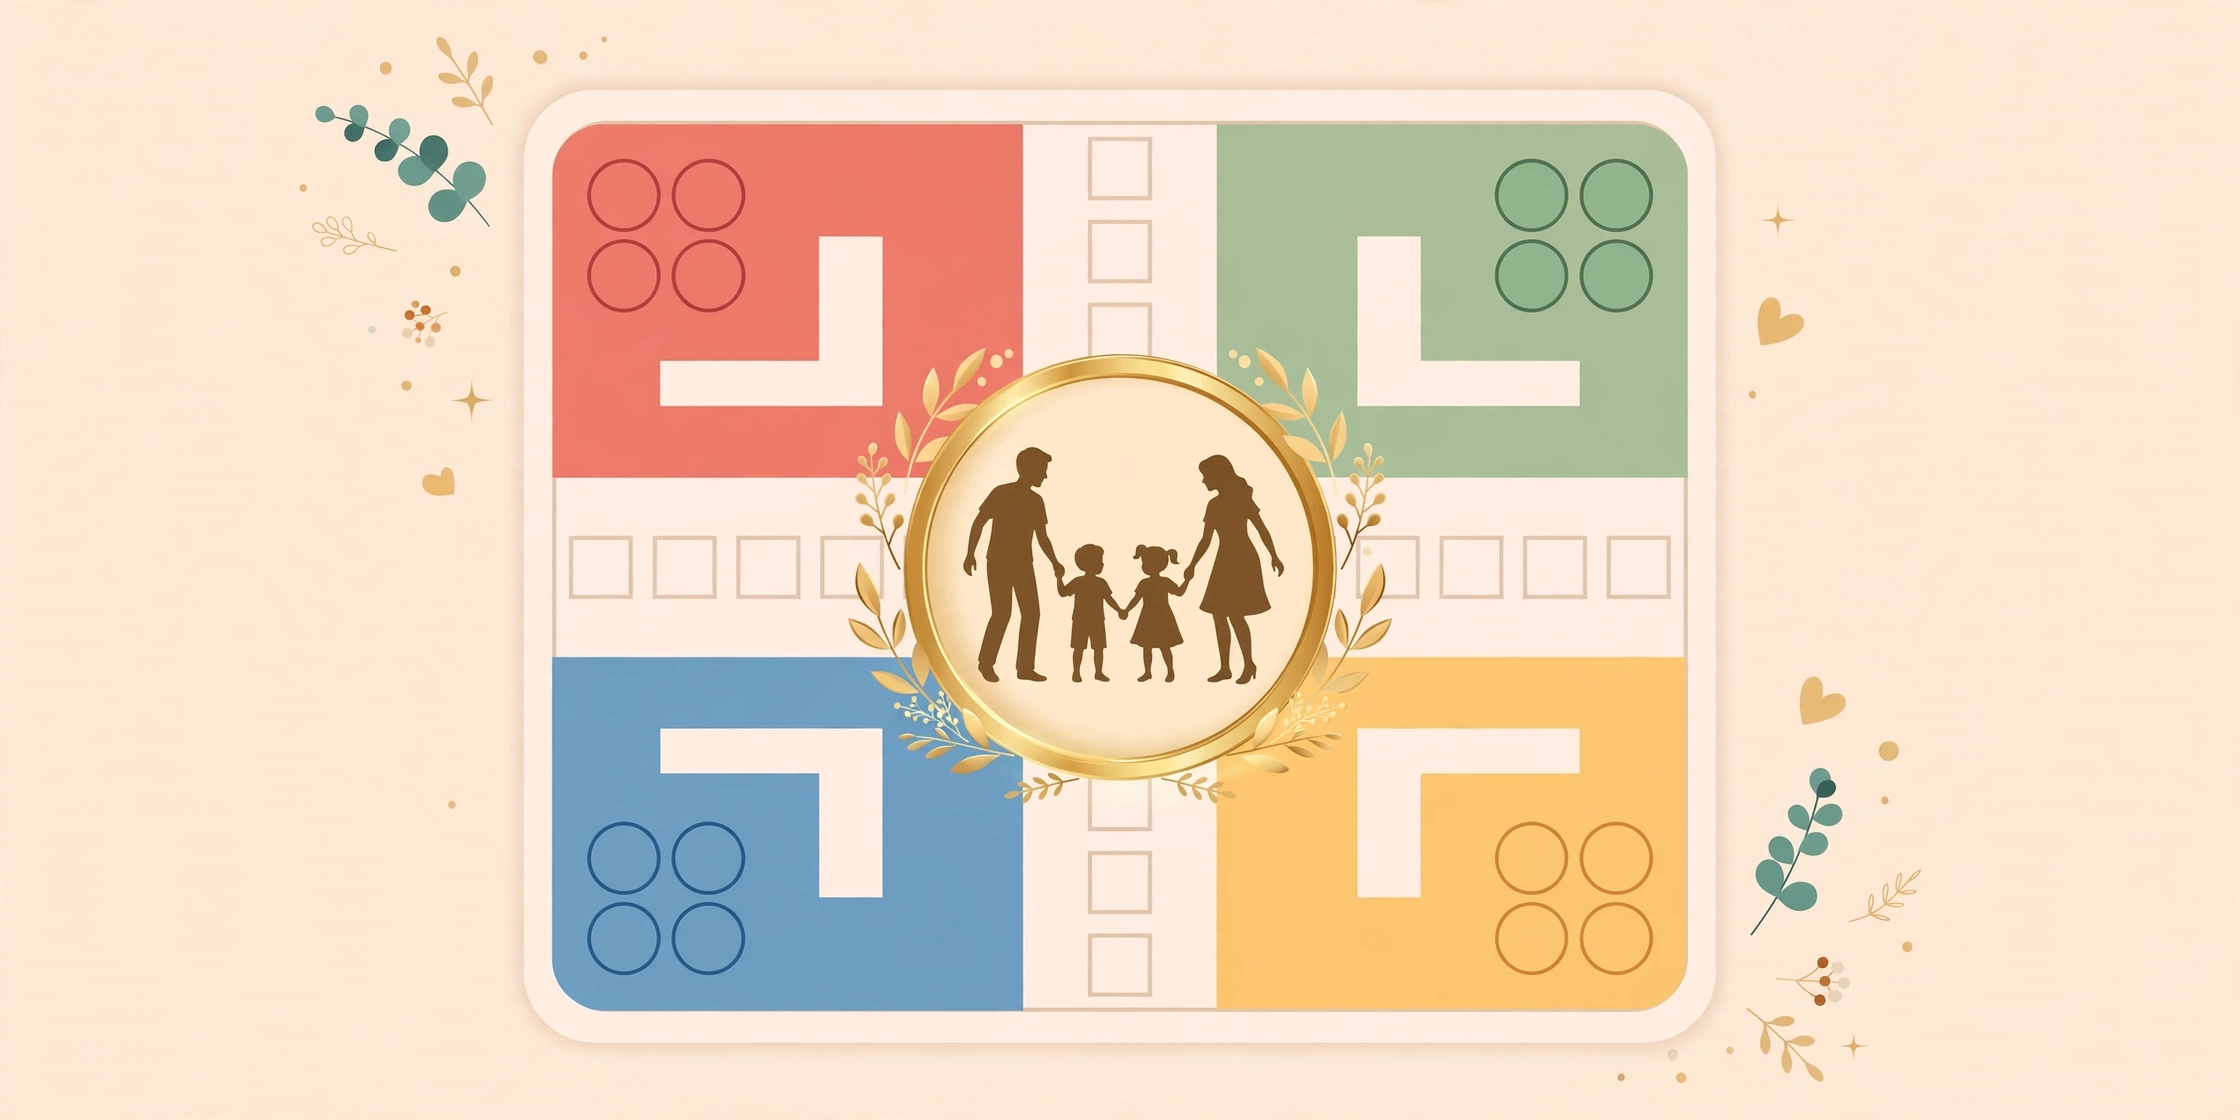
A photo in the center transforms a board from "nice custom gift" to "family treasure" — the kind of thing that gets carefully packed during house moves. Wedding photo for an anniversary gift. Kids' photo for grandparents. The whole family's Diwali portrait. Here's every method, honestly compared — costs, effort, durability, and which occasions each one suits best.
The three methods, compared
| Method | How it works | Cost | Difficulty | Best for |
|---|---|---|---|---|
| Photo sticker | Print photo as round sticker, stick on center | ₹20–40 | Easy | Quick gifts, kids' boards |
| Printed center | Photo printed as part of the board design | ₹80–150 | Medium | The premium, permanent gift |
| Frame overlay | Photo under a cut-out frame on the board | ₹50–100 | Medium | Swappable photos |
Method 1: Photo sticker (fastest)
Design your board in the board designer with a plain center medallion — solid color, no text. Print and laminate the board normally. Then get a round photo sticker printed (any photo studio or online sticker printer does these; ask for a 7–8cm circle to match the medallion) and stick it right in the center.
Pros: dead simple, genuinely cheap, and you can finish the whole thing today — design in the morning, gift by evening. Cons: the sticker edge is slightly visible, and over years the sticker adhesive can yellow. For a kids' birthday board or a fun casual gift, this is perfect — nobody examines the center medallion with a magnifying glass.
Tip: put the sticker on before lamination if you're doing a cold pouch at home? No — actually, stick it on after lamination. Laminating over a sticker can trap air bubbles around its edge. Board first, laminate, then sticker on top. Clean and bubble-free.
Method 2: Printed center (most premium)
This is the real deal: the photo is part of the printed board itself. The process: design your board, but instead of downloading directly, you need the photo composited into the center. Currently the designer exports the medallion as a solid circle — so here's the workflow:
1. Download your board PNG from the designer.
2. Open it in any free editor (even your phone's photo editor works) and paste a circular-cropped photo into the center medallion area.
3. Print the composite at a shop on A3 art paper, laminated.
The result looks factory-made — the photo is in the board, not on it. Colors match, edges are clean, lamination covers everything uniformly. This is the method for wedding anniversaries, milestone birthdays, and the Diwali gift for parents that makes Mummy cry.
Photo choice matters enormously here. Pick a photo with the subjects' faces large and centered — a wide group shot where everyone's tiny will be mush at 7cm. Portrait orientation crops best into the circular medallion. And use the highest resolution original you have; a WhatsApp-forwarded image that's been compressed six times will look soft in print.
Method 3: Frame overlay (swappable photos)
The clever one. Print the board with an empty circular center (just a decorative ring). Cut a slightly larger photo print, place it under the board's center, and hold it with a transparent overlay — a circle of clear acrylic or even a laminated transparent sheet taped at the edges. The photo sits protected under the clear layer, visible through the center.
Why bother? Because you can swap the photo. Diwali family portrait this year, Holi next year, the new baby the year after. One board, evolving memories. Grandparents particularly love this idea — "the board that changes." It's a bit more craft work upfront, but the ongoing delight is unmatched.
Which photo works best?
Not every photo survives the journey down to a 7cm circle — scale changes everything. Winners: close-up family portraits, wedding couple shots, a baby's laughing face filling the frame. Losers: busy backgrounds, tiny distant figures, dark night shots (they print muddy). If the photo has text or important details at the edges, they'll get cropped by the circle — keep the good stuff central.
Color tip: photos with warm tones (golden hour, indoor lighting) harmonize beautifully with royal color themes — navy and gold boards make photos glow. Cool-toned photos pair better with the Classic or Ocean presets.
Protecting the photo
Photos fade — that's physics. Lamination (UV-protective if the shop offers it) dramatically slows this. Keep the board out of direct sunlight when not in use — store it in a cupboard or drawer; a board left near a sunny window will fade the photo within a year, laminated or not. For Method 1 (sticker), keep a spare sticker printed — they're cheap, and replacing a faded sticker takes ten seconds.
Our lamination guide covers the protection options in detail.
The emotional math
A text-center board says "this was made for us." A photo-center board says "this is us." That difference is why photo boards get the strongest reactions of any custom gift I've seen — stronger than the name boards, stronger than the fancy color themes. When someone sees their own family's faces at the center of a game board, something short-circuits pleasantly in the brain.
Design the board with your family name around the photo, or keep the yards labeled with individual names. Either way, the formula holds: photo in the middle, love everywhere else, and a gift nobody forgets.
Questions? The printing FAQ covers the practical side. The emotional side — the gasp, the hug, the phone call to relatives — you'll have to experience yourself.
Digital mockup first: see it before you print
Before spending a rupee on printing, mock it up on your phone. Open the board PNG, paste the photo into the center using any free editor, and look at it at actual print size — most phones let you zoom to roughly true scale. Does the photo read clearly? Do faces get lost? Is the composition balanced? This two-minute check catches 90% of bad photo choices. I once nearly printed a board with a gorgeous sunset photo where the couple were tiny silhouettes in the corner — the mockup saved me from a very expensive, very blurry center.
Gifting a photo board: the reveal matters
A photo board deserves a proper reveal. Don't just hand it over — wrap it so the center is the last thing seen, or keep it face-down and flip it dramatically. The gasp when someone sees their own family photo at the center of a Ludo board is a real, audible thing; I've heard it three times now and it doesn't get old. If you're gifting it at a party, wait for a quiet moment rather than the chaos of cake-cutting. Emotional gifts need a beat of silence around them.
🎨 Design your photo board — free
Create the board base in minutes, add your photo, print. No signup.