How to Laminate a Printed Ludo Board for Long Life
My first custom board lasted eleven days. Eleven. Miserable. Days. Day twelve brought a toppled chai glass, and the beautiful navy quadrants I'd so carefully designed turned into a Rorschach test. I reprinted it — and laminated it. That second board is four years old now, has survived two house moves and countless game nights, and still looks nearly new. Lamination isn't optional, and it isn't a luxury either. It's the difference between a print and a board.
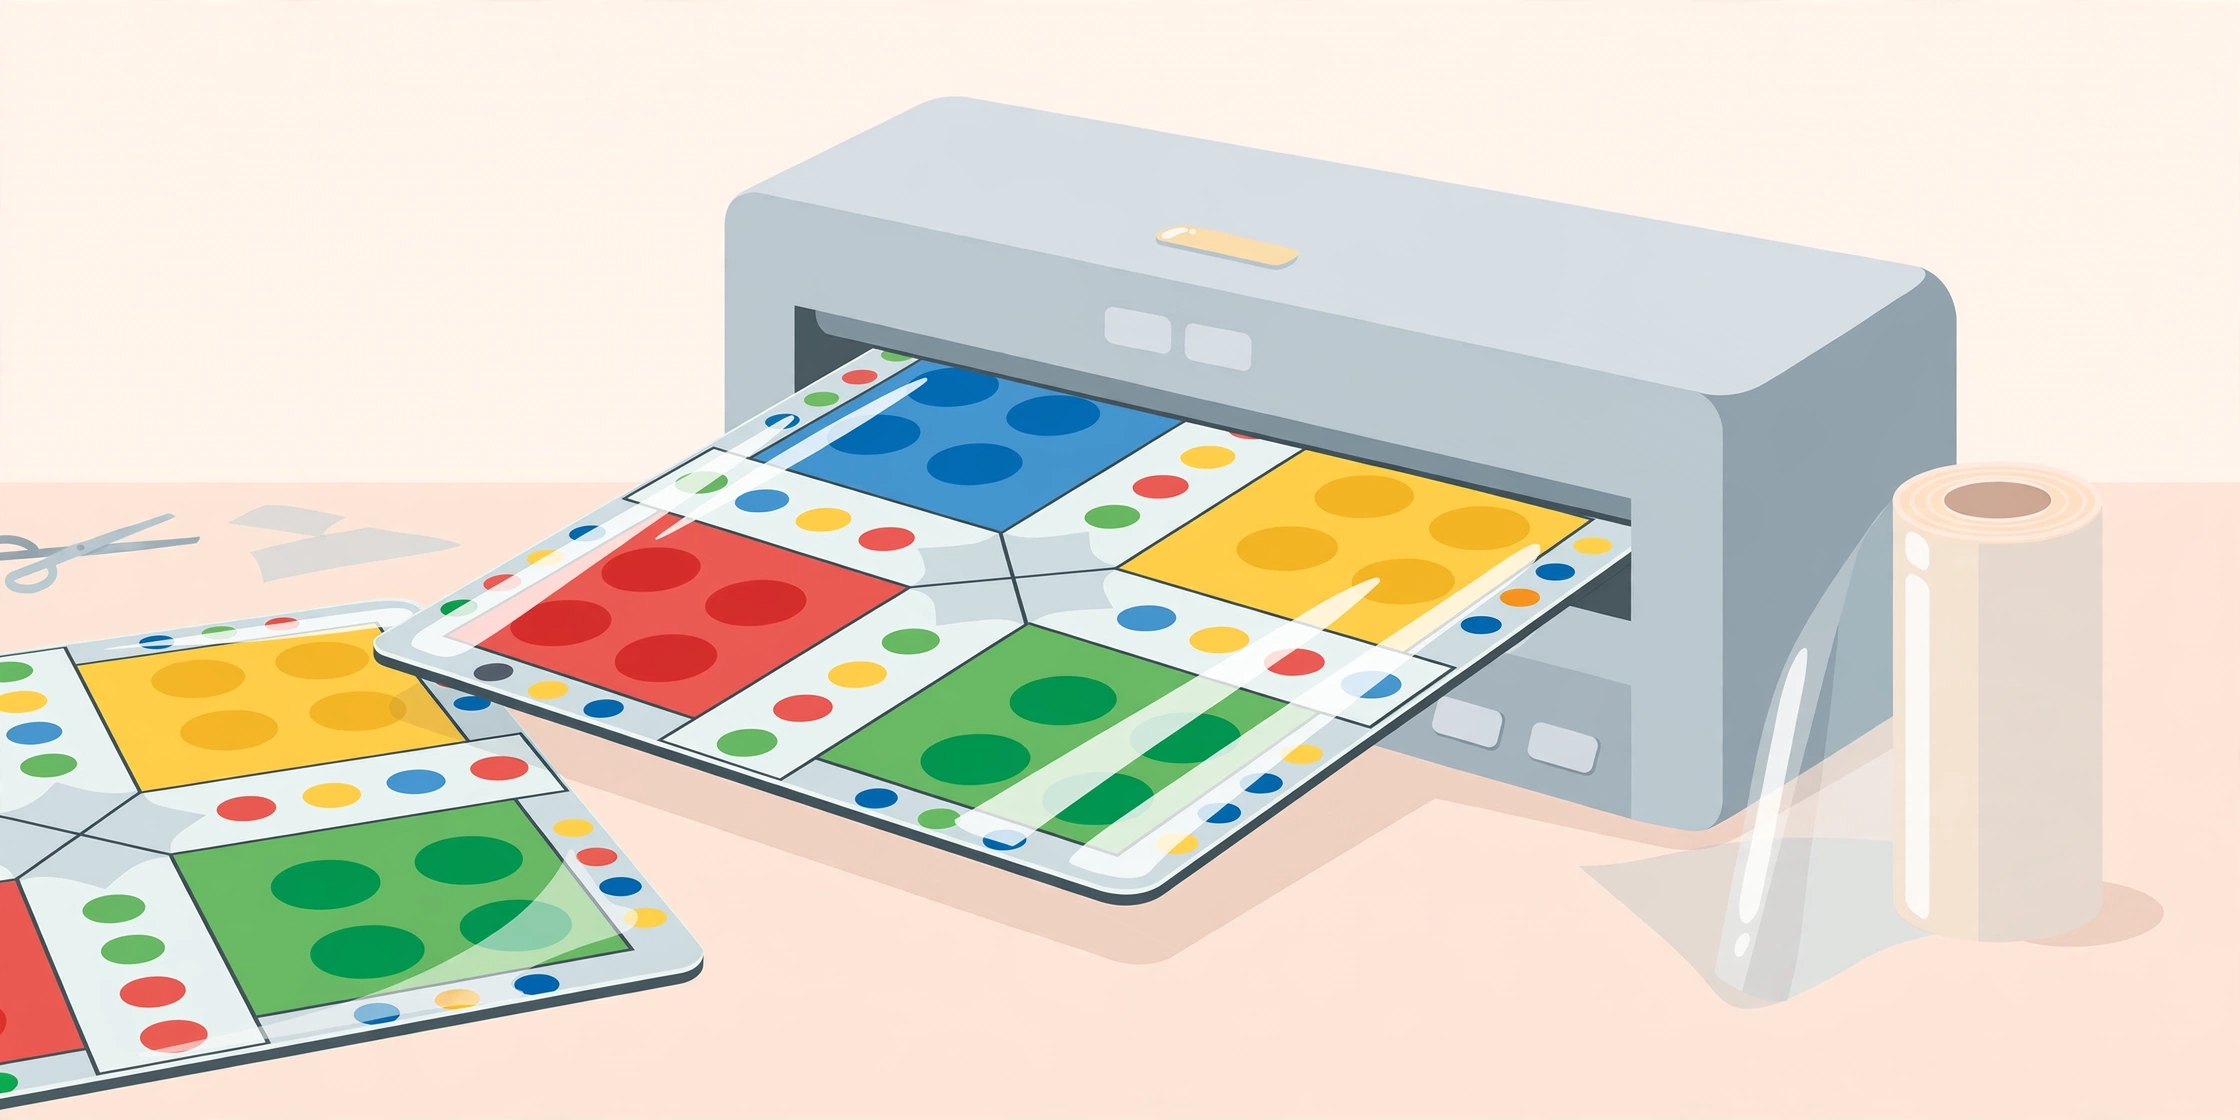
Here's everything I've learned about laminating a Ludo board, including the mistakes: the methods, the costs, the thickness question, and the DIY tricks that actually work when there's no laminator in sight.
Why lamination matters so much for game boards
A Ludo board lives a hard life. Tokens slide across it hundreds of times per session. Dice bounce on it. Hands — sometimes sticky hands — press on it. It's folded, unfolded, stuffed behind sofas. An unprotected paper print absorbs moisture from the air alone, curling within weeks in humid Indian weather — I've watched it happen to a board left out during monsoon. Lamination seals the print in plastic: waterproof, wipeable, tear-resistant, and dramatically more color-vibrant (colors literally look richer under film), and foldable without cracking (if you pick the right thickness).
The methods, honestly compared
| Method | Thickness | Cost per A3 board | Durability | Best for |
|---|---|---|---|---|
| Cold pouch (DIY, no machine) | 80–125 micron | ₹15–30 | Good (1–2 years) | Home use, quick jobs |
| Hot pouch at print shop | 125 micron | ₹30–60 | Very good (3–5 years) | The standard choice |
| Hot pouch at shop | 250 micron | ₹60–100 | Excellent (5+ years) | Heirloom / gift boards |
| Sticky book-cover film (DIY) | ~50 micron | ₹10–15 | Fair (6–12 months) | Kids' boards, tight budget |
Micron thickness: what the numbers mean
"Micron" is just thickness — 125 micron is about the thickness of a sturdy ID card coating. For Ludo boards: 80 micron is the minimum worth doing (thin, flexible, fine for casual play). 125 micron is the sweet spot — rigid enough to feel premium, flexible enough to fold without the dreaded white crack line along the fold. 250 micron is nearly rigid — gorgeous and bombproof, but don't try to fold it sharply; it wants to stay flat, which is perfect for a framed or gift board.
Rule of thumb: if the board will be folded regularly, 125 micron. If it'll live flat on a shelf and come out for game nights, 250 micron.
The print-shop route (recommended)
Walk into any print shop with your printed board (or better: get it printed and laminated in the same visit — see our paper size guide for the print specs) and ask for "125 micron hot pouch lamination, both sides." They'll run it through their machine in two minutes. Check the result before you pay: no bubbles, no dust specks trapped under the film, edges fully sealed.
Cost reality: ₹30–60 for A3 at most shops. Anyone quoting ₹150+ is either in a mall or testing you. And always laminate both sides — single-side lamination curls the board toward the laminated face within days. This is the #1 lamination mistake, and shops will happily do single-side if you don't specify.
DIY cold pouches (no machine needed)
Cold lamination pouches are pressure-sensitive — peel, stick, smooth, done. No heat, no machine. Buy A3 cold pouches online or at stationery wholesalers (packs of 10–50 bring the per-piece cost to ₹15–25). Technique matters: peel back 2cm of the backing, align the board edge, then slowly peel-and-smooth with a ruler or old credit card, pushing air out as you go. Work on a clean, dust-free table — one trapped dust speck becomes a permanent bubble.
Cold pouches aren't quite as tough as proper hot lamination, but for a home board that lives in a cupboard between game nights, they're more than enough. I've got a cold-pouched board that's survived two years of weekly play. Good enough is good enough.
The sticky-film budget option
Transparent self-adhesive book-cover film — the stuff used to cover school notebooks — is the cheapest protection that actually works. ₹30 for a roll that covers 4–5 boards. Same peel-and-smooth technique as cold pouches, just thinner and less rigid. It's not glamorous, but it waterproofs the print and stops edge fraying. For kids' birthday boards printed in bulk, this is the economical choice — ₹6–8 of protection per board.
What about the fold?
Here's the engineering question: you want the board to fold for storage, but lamination resists folding. Solutions: at 125 micron, just fold it — the film handles a soft fold fine, and the crease actually gets stronger with the plastic reinforcing it. For 250 micron, score a fold line first (a blunt knife pressed along a ruler, cutting only the film, not the paper) and fold along the score. Or skip folding entirely — store flat. Flat-stored laminated boards last the longest, period.
Protecting the tokens and box too
While you're at it: if you made custom tokens from printed paper discs, laminate a strip of them before cutting — same pouch, nearly free. And a laminated rules card tucked with the board is a classy touch that costs one extra pouch. The whole "kit" feeling — board, tokens, rules, all protected — is what separates a printout from a game.
Mistakes that ruin lamination
Laminating a damp print: fresh inkjet prints need 30+ minutes to fully dry. Laminate too soon and you seal moisture in — cloudy patches that never go away.
Dust: one speck, one bubble, forever. Wipe the board with a dry microfiber cloth right before laminating.
Wrong size pouch: the pouch must be bigger than the board on all sides. Too-small pouches leave unsealed edges that peel within weeks.
Ironing as a substitute: people suggest it. Don't. Household irons don't distribute heat evenly — you'll get wavy patches and possibly melted film on the iron. A ₹30 cold pouch from the stationery shop beats a heat-warped, half-melted ruined board every single time.
More practical questions? The printing FAQ has quick answers, and our home printing guide covers the print-before-lamination steps.
Do it once, play for years
Lamination is the least glamorous step and the most important one. Ten minutes and about ₹50 stand between your beautiful custom design and a board your grandkids will one day fight over. The designer is free, the print is cheap — protect the result like it matters. Because it does.
When NOT to laminate
Lamination isn't always the answer. Skip it when: the board is a one-time party prop (kids' birthday boards meant for a single afternoon), you're still iterating on the design (laminate the final, not the drafts), or the board is going straight into a frame as wall art (glass does the protecting). Also skip it for the very first test print — check colors and layout on cheap unlaminated paper first, then commit the good version to plastic. Lamination is forever; make sure the design deserves it.
🎨 Design it, print it, laminate it — free to start
Create your custom board now, download the print-ready PNG in minutes.