How to Print a Ludo Board at Home on A4 (Step by Step)
Sunday afternoon. Kids bouncing off the walls. The old Ludo board is missing three tokens and the dog chewed one corner. You need a board now, not after a trip to the market. Good news: if you have a printer at home, you're twenty minutes away from a fresh, custom board with your family name on it.
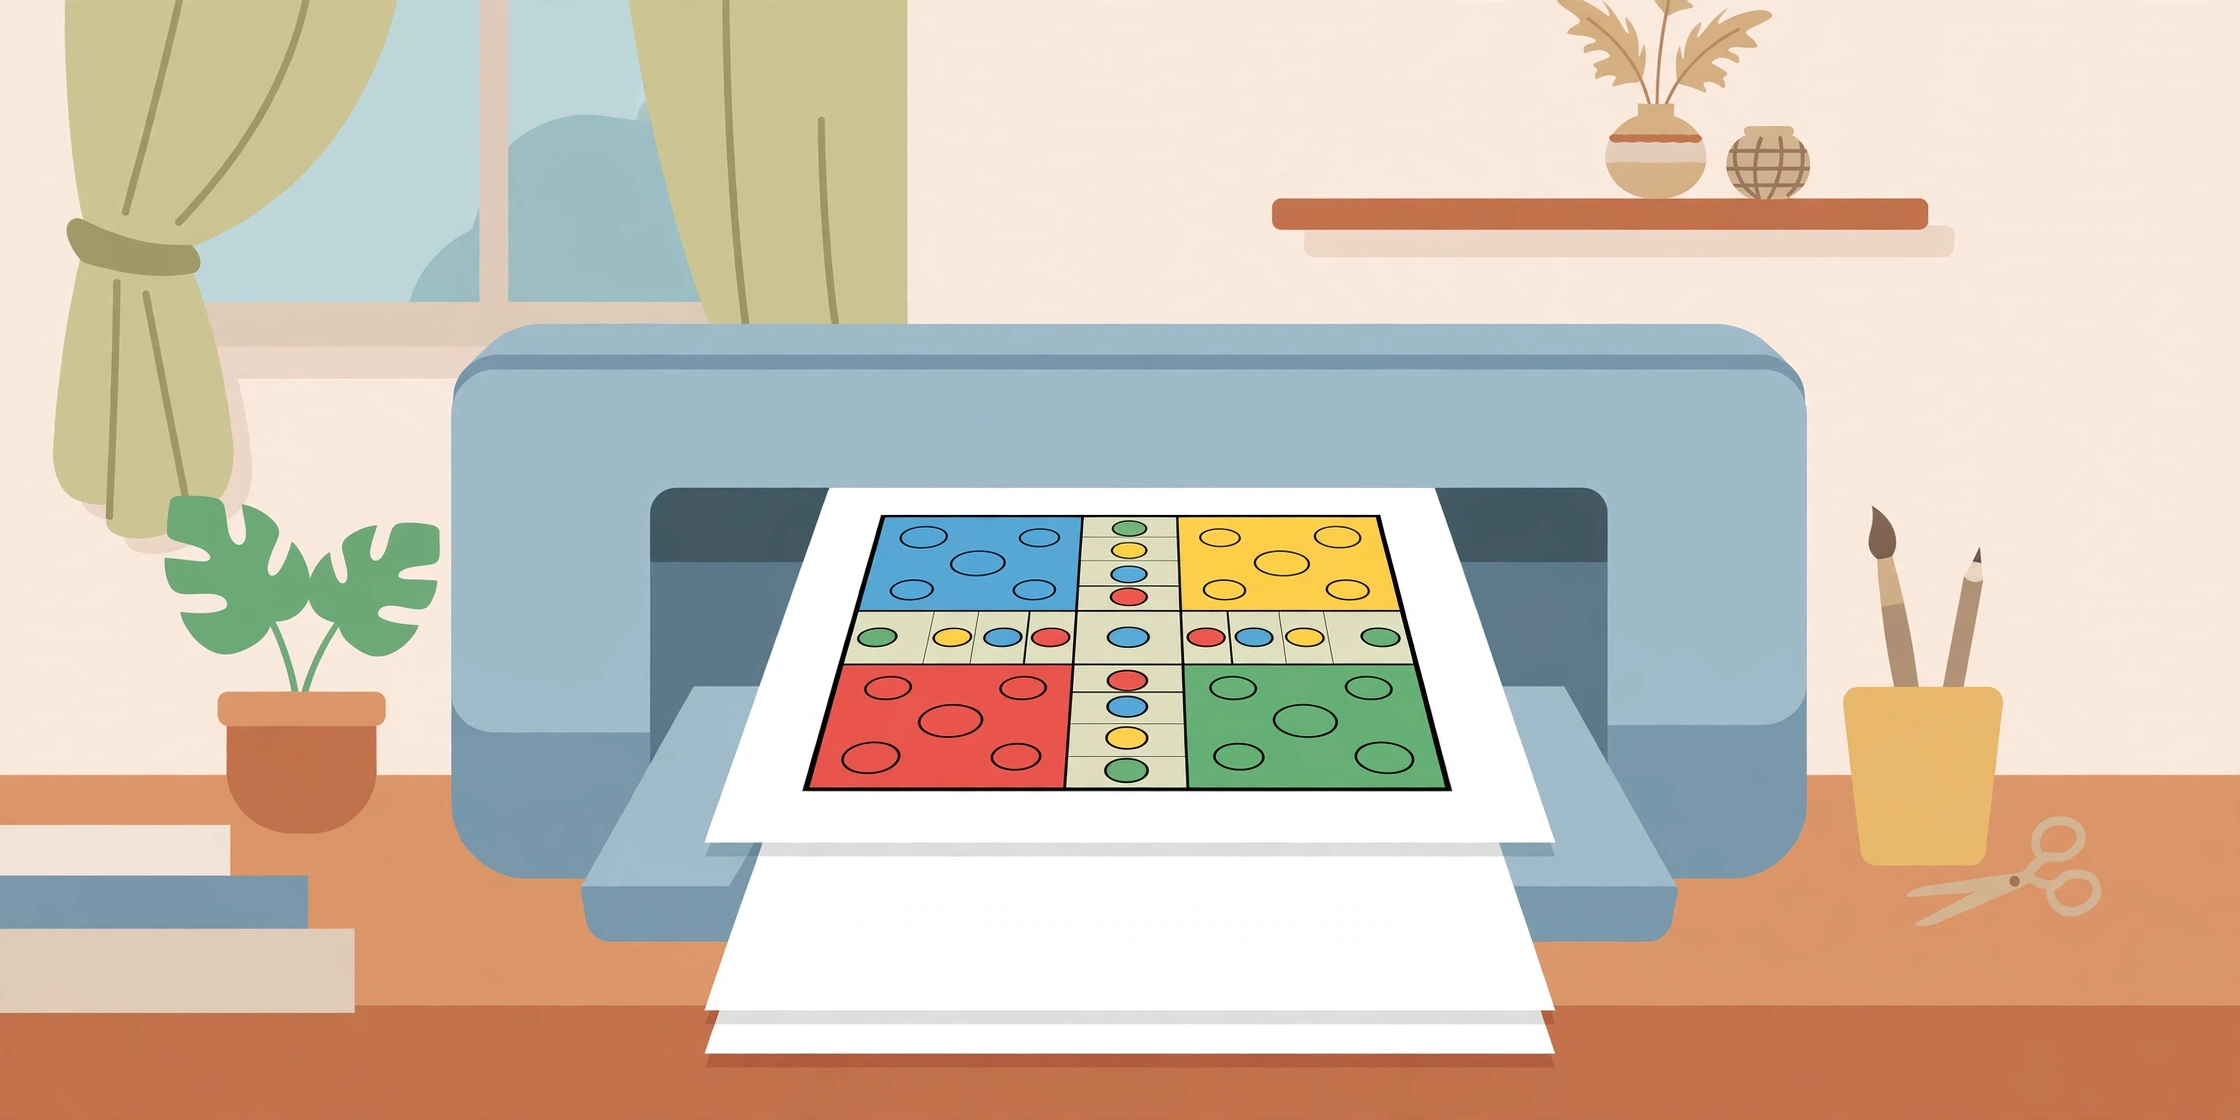
I've printed more boards at home than I can count — some gorgeous, some embarrassing. This guide is everything I learned, including the mistakes, so your first print looks like my tenth.
What you need
Nothing exotic: a home inkjet or laser printer, A4 paper (the thicker the better — 120 GSM minimum, 160+ ideal), and your downloaded board PNG from the WinnerLudo Board Designer. That's genuinely it.
Step 1: Download the right file
Design your board in the board designer and hit Download PNG. You get a 2048px square image — plenty sharp for A4. One tip: if you're printing at home, favor designs with white backgrounds (Classic preset). Full-bleed dark boards look amazing but drink inkjet ink like there's no tomorrow. Save the Royal navy-and-gold for the print shop.
Step 2: Set up the print correctly
This is where most home prints go wrong. Open the PNG, hit print, and check these settings before you commit:
| Setting | What to choose | Why |
|---|---|---|
| Paper size | A4 | Matches your paper, obviously |
| Orientation | Portrait | Board is square; portrait centers it |
| Scaling / Fit | Fit to page (100% if tiling) | Avoids cropped edges |
| Quality | Best / High | Only for the final print |
| Paper type | Matte photo paper (if set) | Tells printer to use more ink |
| Color mode | Color, not grayscale | You'd be surprised how often this is wrong |
The single most common mistake? The printer defaults to "shrink to fit" with big margins, and you get a tiny board floating in white space. Set margins to minimum/narrow for maximum board size.
Step 3: Do a draft test print first
Always — always — print one draft first on regular paper at "draft/fast" quality. Check three things: Are all four quadrants fully on the page? Is the center text readable? Are the colors roughly right? Draft mode uses a fraction of the ink, so this test costs almost nothing. I skipped this once and printed a board with the entire yellow quadrant cut off. Learn from my pain.
Step 4: The final print
Load your best paper — the thickest your printer accepts without jamming. For most home inkjets that's 160–200 GSM matte. Switch quality to Best/High, and print. Don't touch the printer while it works; inkjet banding (those faint horizontal lines) often comes from a bumped printer or a nearly-empty cartridge, not from your file.
Want it bigger? Tile 4 A4 sheets into one large board
A single A4 board is playable but small — about 19cm per side of actual board. For a proper table-size board, tile it: print the design split across 4 A4 sheets (2×2) and join them. Here's how:
1. Use any free "poster print" feature — many printer drivers have "Poster 2×2" under page layout settings. It automatically splits the image across 4 sheets with overlap guides.
2. No poster option? Open the PNG in a free tool like PosteRazor (or just print at 200% scale across 4 manual prints, aligning by eye — less precise but works).
3. Trim the white margins with a ruler and cutter, overlap the edges by 5mm, and tape from the back with clear tape.
4. The result: a ~38cm board. Proper size. Total cost: 4 sheets of paper.
If this sounds fiddly, that's because it slightly is — for a big board you use regularly, a single A3 print from a shop (₹60–120) is honestly easier. Our A3 vs A4 guide compares the options properly.
Step 5: Protect it (the 5-minute lamination question)
An unprotected home print lasts a few weeks of regular play before the folds and chai spills win. Options, cheapest first: a layer of transparent book-cover film (the sticky kind from stationery shops, ₹30 a roll) smoothed on with a ruler — surprisingly effective. Or take the print to a shop for a proper pouch lamination (₹20–40). Full details in our lamination guide.
Ink-saving tricks
Home printing's hidden cost is ink, not paper. Three tricks: print text-heavy test pages in draft mode; use the Classic (white background) preset for home prints; and if your printer has an "ink saver" or "economy" color mode, use it for everything except the final board. A full-bleed color board at Best quality can use 5–10% of a standard cartridge — fine occasionally, painful weekly.
Troubleshooting quick fixes
Colors look washed out: You're probably on "plain paper / fast" mode. Switch paper type to matte/photo and quality up.
Board is off-center or cropped: Check scaling — "fit to page" with narrow margins. Also check you didn't accidentally print in landscape.
Horizontal lines across the print: Run the printer's head-cleaning cycle. If it persists, a cartridge is low.
Paper jam on thick paper: Feed one sheet at a time through the manual/rear feed, not the main tray.
More printing questions? The printing FAQ covers paper, shops, and costs.
Go print it
Twenty minutes, a few sheets of paper, and you've got a custom board with your family name on it. The kids won't care that it's A4 and not store-bought — they'll care that it has their names on it. That's the whole magic.
Laser vs inkjet: does it matter?
Short answer: not much for a first board. Long answer: laser prints are naturally water-resistant (the toner is plastic fused onto the paper), so an unlaminated laser print survives chai spills better than an unlaminated inkjet print. Inkjet, on the other hand, produces richer colors on matte paper. If you have both, use inkjet for the pretty final board and laser for test prints — laser test prints cost a fraction per page.
One caution with laser: don't use inkjet photo paper in a laser printer. The coating can melt in the fuser. Plain or laser-rated matte paper only. When in doubt, the paper packet says which printers it's for — read it, it takes ten seconds.
Storing prints and reprints
Keep the PNG file. Seriously — put it in a folder you'll find again. Home prints fade and crease; that's their nature. But reprinting takes four minutes when you still have the file, versus redesigning from zero. I keep a "printables" folder with every board I've made, named by family and year. The number of times I've reprinted a board for a relative who saw ours and wanted one... let's just say the folder earns its keep.
And store printed boards flat, never rolled. A rolled A4 print develops a curl that no amount of book-pressing fully fixes. Slide them between the pages of a large unused register, or in an A3 art folder (₹80 at any stationery shop, fits A4 prints loosely). Flat, dry, out of direct sunlight — that's the whole formula.
🎨 Design your board, print it today — free
Download the 2048px PNG and print at home in 20 minutes. No signup.