How to Make a Ludo Board With Cardboard at Home (Easy Method)
Rainy Sunday. No board games in the house, kids climbing the walls, and the shops are closed. My father used to solve this with a piece of cardboard, a ruler, and whatever colors were lying around — and honestly, those hand-made boards gave us some of our best family game nights. There's something about playing on a board you built yourself — every crooked line becomes a story, every color choice a memory.
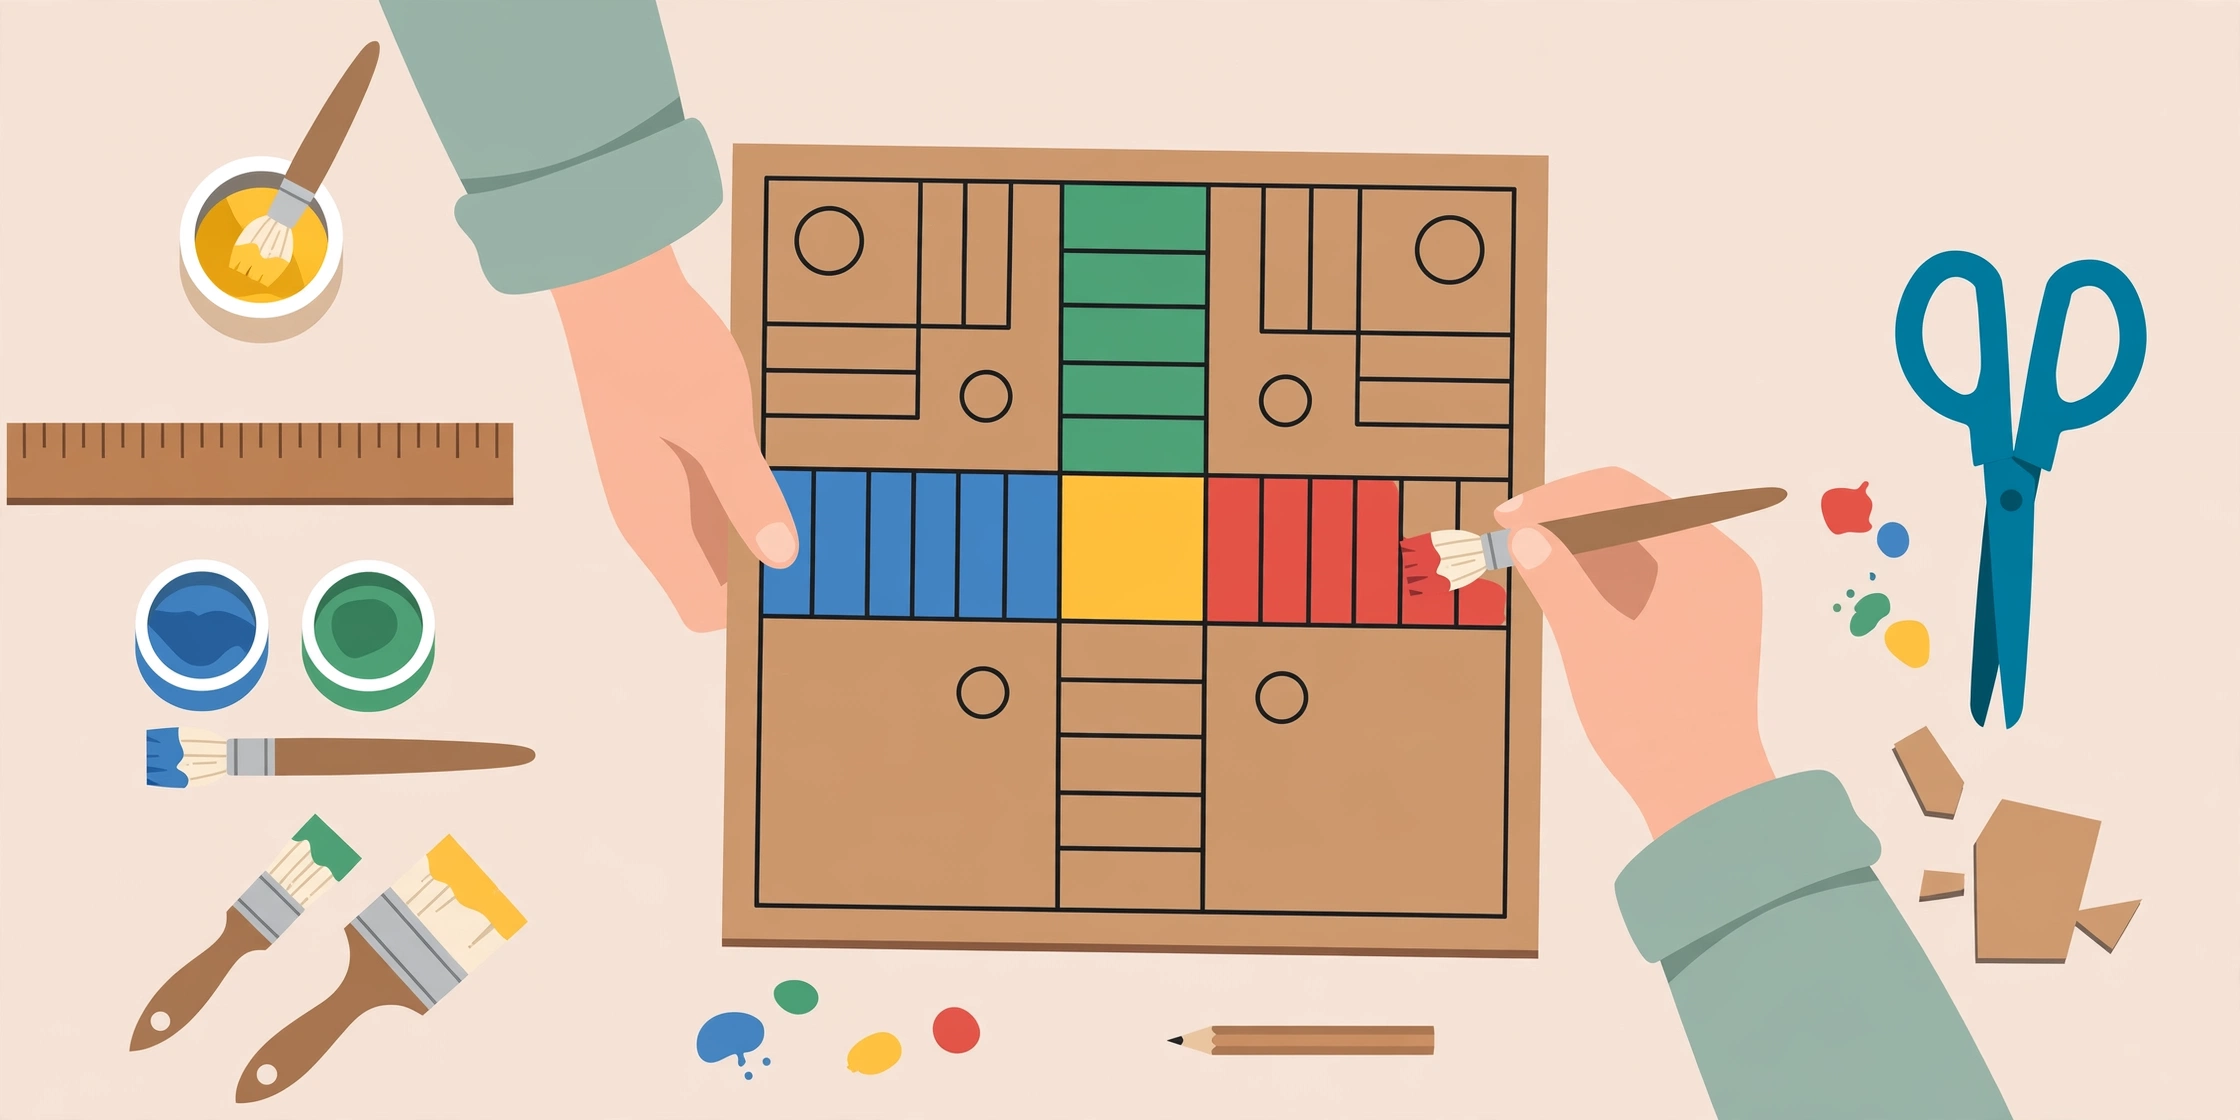
This is the complete method: materials, measurements, the grid, painting, and the shortcuts that save you an hour. A 10-year-old can do this with supervision. An adult can do it in one lazy afternoon, with chai breaks built in.
What you need
| Material | What to get | Approx cost |
|---|---|---|
| Cardboard | One large flat piece, ~45×45 cm (old carton box flattened) | Free |
| White paper/chart | 2–3 A3 sheets or one large chart paper to cover the board | ₹20–30 |
| Ruler + pencil | 30cm ruler minimum | Already home |
| Colors | Poster colors or sketch pens: red, green, blue, yellow, black | ₹40–60 |
| Glue | Fevicol or glue stick | ₹10–20 |
| Tokens + dice | Bottle caps / buttons + 1 die (or make a spinner) | ₹0–20 |
| Total | ₹70–130 |
Most of this is already in an Indian home. The only real purchase might be poster colors — and those last for dozens of projects.
Step 1: Prepare the base
Cut your cardboard to a square — 40×40 cm is ideal, 35×35 works for smaller tables. If you're joining two pieces, overlap them by 2cm and glue generously, then press under heavy books for an hour. A wobbly base ruins everything that comes after, so don't rush this part — press it properly and walk away for that hour.
Cover the cardboard with white chart paper (glue stick, smooth from center outward to avoid bubbles). This gives you a clean drawing surface and makes colors pop. Let it dry completely — wet paper + ruler = smudged lines and tears.
Step 2: Draw the grid (the important part)
A Ludo board is a 15×15 grid. On a 40cm board, that's roughly 2.6cm per square. Here's the method that actually produces straight lines:
1. Mark 15 equal divisions along all four edges. Measure carefully — use a calculator: 40 ÷ 15 = 2.67cm per division. Mark lightly in pencil.
2. Draw the full grid lightly across the whole board. All 15×15 squares. Yes, all of them — the grid is your map for everything that follows.
3. Now mark the four 6×6 corner yards (top-left, top-right, bottom-left, bottom-right). These are the colored home bases.
4. Mark the center 3×3 square — this becomes the home triangle area (draw the four triangles later).
5. The cross-shaped path between yards is your track. Color the starting squares and mark the 8 safe squares with stars.
Pro tip: do the entire layout in pencil first, check it against a reference image on your phone, then go over it in color. Erasing poster color is not a thing — pencil first, always.
Shortcut: print the template and paste it
Here's the honest shortcut — and there's zero shame in it. Design your board in the WinnerLudo Board Designer, download the PNG, print it (even on regular A4, tiled — see our home printing guide), and paste the print onto your cardboard base. You get a perfect, professional-looking board on a rock-solid cardboard base in 30 minutes instead of 3 hours.
This hybrid method is genuinely the best of both worlds: the sturdiness of handmade with the precision of print. I recommend it to everyone who asks — purists can hand-draw, pragmatists print-and-paste, and both end up playing by evening.
Step 3: Color it
Color the four yards in classic red, green, blue, yellow (or your custom scheme — the royal color guide has gorgeous combinations). Poster colors give the richest finish; apply two thin coats rather than one thick one to avoid streaks.
Paint the home columns (the colored paths leading to center), the starting squares, and the center triangles. Leave the main track white — that's classic and keeps the board readable. Mark safe squares with a star — draw it freehand, imperfect stars have charm.
Let everything dry for at least 2 hours. Seriously. Smudged wet paint on a board you spent hours drawing is heartbreaking.
Step 4: Tokens and dice
Tokens: 16 pieces in 4 colors. Easiest: bottle caps painted in four colors, or large buttons, or even dried chickpeas (chana) painted — they have a lovely weight. Dice: buy one for ₹5, or make a spinner from cardboard and a pencil (draw 1–6 around a circle, spin the pencil). The spinner is actually more fun for small kids, who treat dice-rolling as a full-contact sport.
Step 5: Protect it
A handmade board deserves protection. The cheapest: transparent sticky book-cover film smoothed over the whole surface (₹30 a roll). It makes colors pop and survives spills. Fancier: take it to a shop for lamination. Either way, do something — unprotected poster color + one spilled glass of water = tragedy.
Make it a family project
Here's the secret value of the cardboard method: the making is half the fun. Give each kid one yard to color. Let them pick the colors (even if the combination hurts your eyes — it's their board). Write everyone's name on their yard. The board that emerges won't be perfect, and that's exactly why everyone will love it.
Our kids' birthday guide has more ideas for getting children involved in board-making — it doubles as a party activity that keeps twenty kids busy for an hour.
Common mistakes
Unequal squares: measure twice, draw once. A ruler and 5 extra minutes at the marking stage saves an hour of crooked-board regret.
Painting before the pencil layout is checked: always verify against a reference first.
Too-thin cardboard: single-layer flaps from a delivery box warp. Double it up or use the thick double-wall stuff from appliance boxes.
Skipping the white base: painting directly on brown cardboard muddies every color. The white chart paper layer is non-negotiable.
Stuck on anything? The printing FAQ covers related questions, and the designer is always free.
The payoff
That evening, when everyone's playing on a board that didn't exist that morning — a board with your kids' names on it, in colors they chose — you'll understand why handmade beats store-bought. Not because it's better quality. Because it's yours.
Folding boards: the advanced move
Once you've made one flat board, try a folding one. Score (don't cut) a line down the middle of the cardboard with a blunt knife before covering it with chart paper — the board folds in half for storage and lies flat when opened. Tape a thin strip of cloth along the fold on the back for reinforcement. Store-bought boards fold; now yours does too. It also fits in a large gift bag, which the flat ones stubbornly refuse to do.
🎨 Or design it in 10 minutes — free
Short on time? Design online, print, and paste onto cardboard. Best of both worlds.